
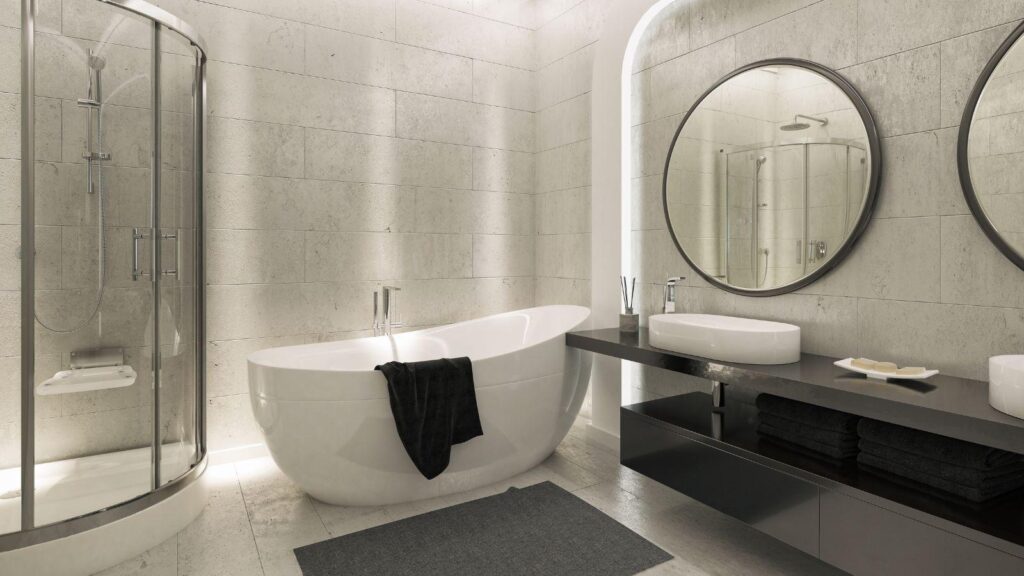
Remodeling a bathroom can transform one of the most frequently used rooms in a home, but the project often involves much more than choosing new tiles and fixtures. Demolition, plumbing, electrical work, flooring, painting, and carpentry may all be involved. Before starting, prepare the workspace properly and consider the tools, equipment, and appropriate safety clothing needed for the jobs being completed throughout the renovation.
Start With a Clear Renovation Plan
Before removing anything, decide exactly what you want to change.
Walk through the existing bathroom and identify problems such as:
- Limited storage
- Poor lighting
- Insufficient ventilation
- Damaged flooring
- An awkward layout
- An outdated shower or bathtub
- Lack of counter space
Separating practical problems from purely cosmetic ones will help you prioritize the renovation.
Decide What You Can Keep
A bathroom remodel doesn’t always require replacing everything.
If the existing layout works well, keeping plumbing fixtures in approximately the same locations may simplify the project.
You may also be able to retain:
- A good-quality bathtub
- Existing cabinetry
- Mirrors
- Certain plumbing fixtures
- Recently installed lighting
Updating these elements rather than replacing them can leave more of the budget available for areas that genuinely need improvement.
Plan Your Budget Carefully
Bathroom projects can become expensive because several different trades may be required within a relatively small space.
Create a budget covering:
- Tiles
- Flooring
- Plumbing fixtures
- Cabinetry
- Lighting
- Paint
- Labor
- Waste disposal
Keep some money available for unexpected repairs as well.
Removing old flooring or wall finishes can sometimes reveal water damage or other problems that weren’t visible beforehand.
Complete Demolition in Stages
It can be tempting to remove the entire bathroom immediately, but controlled demolition makes the project easier to manage.
Determine what needs to come out and in what order.
Keep the work area organized by creating separate locations for:
- Tools
- Reusable materials
- New materials
- Construction waste
Regular cleanup also makes it easier to see what you’re doing as the renovation progresses.
Address Moisture Problems Before Rebuilding
Bathrooms naturally experience high levels of moisture.
If you discover staining, damaged timber, deteriorated flooring, or other signs of previous water problems, investigate the source before installing new finishes.
Possible causes might include:
- Plumbing leaks
- Failed seals
- Poor ventilation
- Water escaping around showers or tubs
Covering an existing moisture problem with new materials can lead to another renovation much sooner than expected.
Think Carefully About Ventilation
Good ventilation helps manage moisture and humidity.
This is particularly important in bathrooms without large windows or other sources of natural airflow.
Plan ventilation during the early stages of the renovation so necessary installation work can be coordinated with other electrical and construction tasks.
Choose Materials Designed for the Space
Bathroom materials need to tolerate frequent cleaning and exposure to moisture.
When comparing options, consider:
- Water resistance
- Durability
- Maintenance
- Cleaning requirements
- Slip resistance where appropriate
A material that looks beautiful in a showroom may not necessarily be the most practical choice for everyday bathroom use.
Plan Storage Around Your Routine
Bathroom storage works best when it reflects how the room is actually used.
Think about where you need to keep:
- Towels
- Toiletries
- Cleaning products
- Grooming equipment
- Everyday essentials
Vanity drawers, recessed shelving, wall cabinets, and shower niches can provide storage without making a smaller bathroom feel overcrowded.
Know When Professional Help Is Needed
Some homeowners may be comfortable handling painting, demolition, basic carpentry, or other parts of the renovation themselves.
However, plumbing and electrical work can be subject to local requirements and may need qualified professionals.
Structural problems and significant water damage may also require specialist assessment.
Recognizing the limits of a DIY project can prevent expensive mistakes later.
Add the Finishing Details
Once the major work is complete, smaller design decisions can bring the room together.
Consider adding:
- A statement mirror
- Coordinated hardware
- New towel rails
- Decorative lighting
- Plants suited to humid environments
- Simple artwork
These details give the finished bathroom personality without interfering with its functionality.
Final Thoughts
A successful bathroom remodel starts with solving practical problems before focusing on decoration. Plan the layout, budget carefully, address moisture and ventilation, and complete the work in a logical order.
Once the fundamentals are right, tiles, lighting, fixtures, storage, and finishing touches can transform an outdated bathroom into a practical and enjoyable part of the home.