
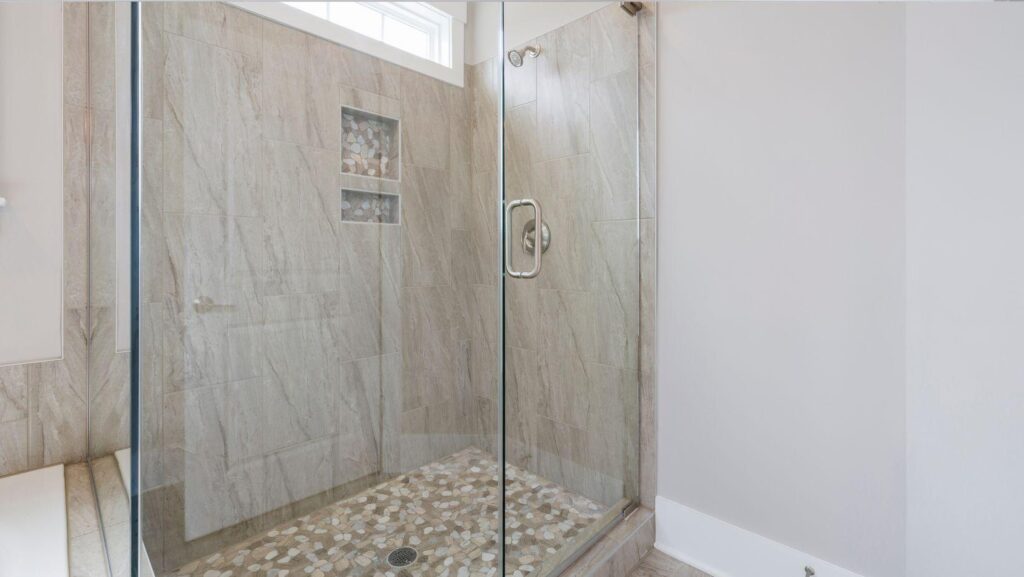
Converting a tub area or creating a separate shower changes how a bathroom works every day. The standing shower base is the physical starting point: it determines where a person stands, how water reaches the drain, where walls begin, and how the enclosure meets the floor. Selecting the right base shower is therefore a layout decision, a plumbing decision, and a maintenance decision all at once.
Homeowners often focus first on tile and glass because those surfaces define the finished look. Contractors begin lower. They want to know whether the floor is level, whether the drain can align, how the base is supported, and how the waterproof wall assembly connects to its flange. Bringing those two viewpoints together early produces a shower that looks good without depending on sealant to correct an unresolved detail.
Base Shower Layout: Start With Movement Through the Room
Measure the entire bathroom and draw each fixed element, including the door swing, toilet clearance, vanity drawers, radiators, and window trim. Add the proposed base shower at its actual dimensions. Then add the enclosure and show how it opens. This second step is frequently missed. A base can fit the floor while the door collides with a cabinet or blocks the only comfortable approach.
Use painter’s tape to mark the threshold and outer edges. Step across it from several angles. Imagine carrying a towel, helping a child, or reaching for controls before the water warms. In a narrow room, a sliding door can conserve clearance. In a larger one, a pivot or fixed-panel arrangement may create a wider, more open entry. The product selection should support the movement the household needs.
The interior standing area is not always identical to the nominal footprint. Curved or neo-angle shapes trade some internal floor area for better circulation outside. Wide curbs and wall profiles can also reduce usable space. Dimension drawings reveal more than the category label, so compare actual interior geometry when choosing between similar sizes.
Shower Base for Tile Walls: Make the Waterproofing Continuous
A shower base for tile walls must integrate with the backer board and waterproofing system. Many bases have a raised flange intended to sit behind the wall finish. The board and membrane need to shed water into the base without creating a reverse lap where moisture can travel behind it. The precise arrangement varies, which is why the base and waterproofing instructions should be reviewed together.
Tile is not the waterproof layer by itself. Grout joints and corners need a complete system behind them, while changes of plane generally require flexible treatment appropriate to that system. Penetrations for controls, shower arms, niches, and accessories also need attention. A well-installed base cannot compensate for a wall assembly that lets water reach the framing.
Plan tile thickness and layout before setting the base permanently. Large-format tile, thick stone, or built-out accent areas can change the finished opening available for glass. A centered tile layout may require framing adjustments to avoid awkward slivers. These details depend on the base being positioned accurately.
Base for Shower Projects: Prefabricated or Site-Built
A prefabricated base for shower projects arrives with its slope and form already established. That consistency can shorten installation and reduce the number of field-made waterproofing details. Acrylic, resin, polypropylene, and other constructions offer different weights, textures, and visual profiles. The base still needs correct support and leveling; prefabricated does not mean it can simply be placed on any floor.
A site-built shower floor can accommodate unusual dimensions, a specific drain location, or a carefully planned low transition. It also depends on several linked operations: substrate preparation, slope, drain connection, membrane installation, corners, curb construction, flood testing, and tile setting. The appeal of customization should be weighed against the experience required to execute the system reliably.
Neither option is inherently more professional. A stock base that fits the room can be an efficient, durable solution. A custom floor can be appropriate when the room or user’s needs demand it. The warning sign is not the category chosen; it is a project where nobody can explain how water moves from every surface to the drain while remaining separated from the structure.
Shower Pan Base for Tile: Coordinate Drain, Walls, and Glass
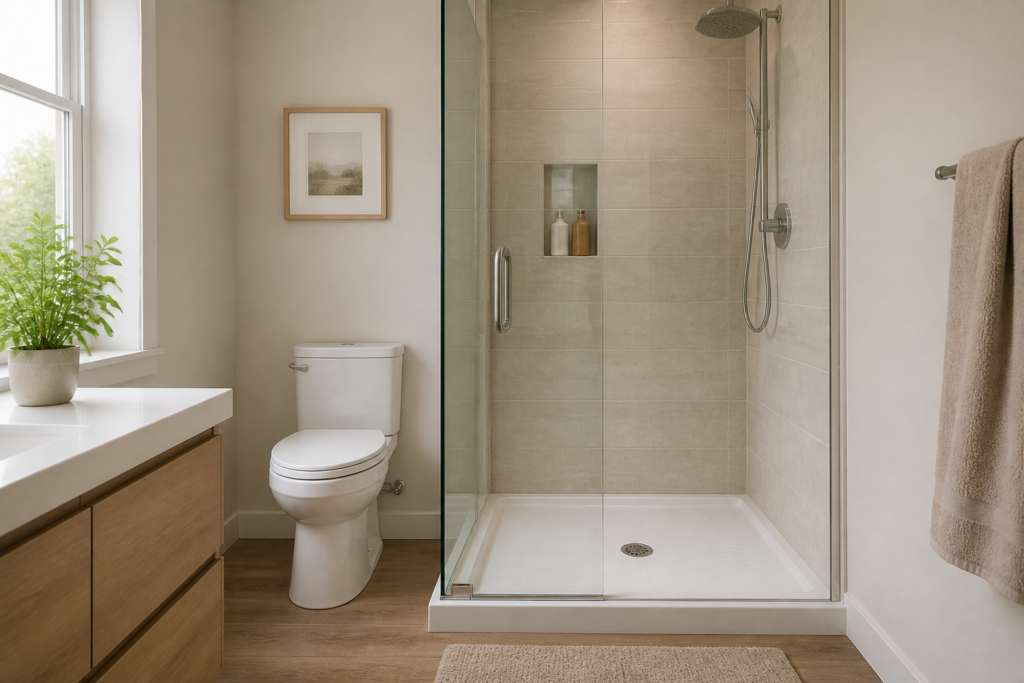
Choosing a shower pan base for tile early allows three trades to work from the same reference. The plumber gets the exact drain location. The tile installer gets the flange and finished-wall constraints. The glass installer gets the curb shape and final opening. If any one of those teams works from an estimated size, small errors can accumulate until a standard enclosure no longer fits.
Drain location affects cost. A left- or right-hand option may align with existing plumbing in a tub-to-shower conversion. A center drain can create balanced drainage but may require relocating the waste. On a wood-framed floor, joists can limit the route. On a slab, moving plumbing may involve cutting concrete. Have the installer confirm feasibility rather than choosing a drain position because the product photo looks symmetrical.
Glass needs a sound mounting strategy. Door hinges and channels place loads on walls, so blocking should be installed before tile. Avoid drilling where the base manufacturer prohibits it. Check whether the curb has adequate flat area for the selected enclosure and whether its slope directs incidental water inward.
Thresholds, Comfort, and Who Will Use the Shower
A low threshold can make entry easier, but the whole route matters. Door width, floor level, grab-bar support, control placement, and space for assistance should be considered together. If aging in place is a goal, discuss requirements with a qualified designer or accessibility professional before framing. Retrofitting support after tile is considerably more disruptive.
Surface texture influences footing and cleaning. A heavily textured floor may feel secure but require more attention to remove residue. A smoother surface is easy to wipe but still needs sensible care when wet. Follow the manufacturer’s cleaning instructions and avoid abrasive tools that can change the finish.
Think about maintenance access as well. Hair strainers and drain components should be removable as intended. Sealant joints need inspection over time and may eventually require renewal. Glass channels and the outer edges of the base should be reachable with normal cleaning tools. A shower that can be maintained without acrobatics is more likely to stay attractive.
Installation Checks Before the Bathroom Is Finished
Dry-fit the base and verify that it sits level without rocking. Confirm framing dimensions, drain alignment, and wall squareness. Apply the support or bedding method specified for the product, connect the waste, and test the joint while it remains accessible. Only then should waterproof wall work and finishes proceed.
During construction, protect the surface from tile scraps, dropped tools, adhesives, and metal filings. At completion, run the shower and observe drainage from several points. Check the threshold, corners, door seals, and the ceiling below if accessible. Keep product documents and care guidance with the rest of the renovation records.
A standing shower succeeds when the base quietly coordinates everything above and below it. Give that component the same design attention as the tile, and the room will be easier to use, easier to maintain, and far less likely to hide a costly problem behind a beautiful finish.