
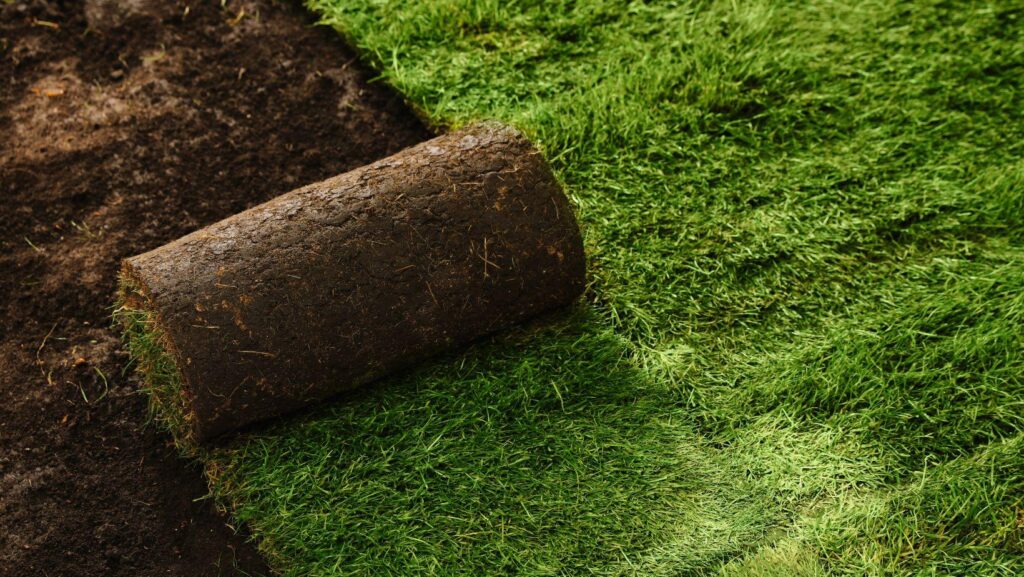
The dresser is refinished and the porch light finally works, but look out the front window and the lawn is a patchwork of crabgrass, bare dirt, and that one brown oval where the kiddie pool sat all August. Seed would fix it eventually, after a season of birds, wind, and watering. Sod fixes it by Sunday night.
That speed has made rolling out new turf a favorite outdoor weekend project. The catch: “laying sod” covers three quite different jobs, and each asks for a different amount of sweat, money, and patience. Pick the wrong one and your fresh lawn turns into yellow seams by July.
Before you choose a method, spend ten minutes on a drainage test. Dig a hole about a foot deep, fill it with water, and check it the next morning. Water still standing? Yard sloping toward the foundation? Then you probably need grading or soil work before any sod goes down. That situation is common in the dense adobe clay found across much of Southern California, and a site inspection from a crew like SodLawn in Anaheim can tell you whether the yard is ready for a DIY job or needs reshaping first.
Why sod wins the weekend
Seed is cheap. For an impatient DIYer, that is about where its advantages end. It needs weeks of steady moisture to germinate, it invites weeds into every gap, and you can’t walk on it for most of a season.
Sod arrives as mature grass with a root mat already formed. Lay it in the morning and the yard looks finished by dinner. A pallet usually covers around 400 to 500 square feet, so a modest front yard is often a one- or two-pallet job, about the scale one person and a helper can handle in a day.
The hard part happens underground. That is where the three methods split apart.
Tear-out, overlay, or patch
Each approach trades effort now against results later:
- A full tear-out removes the old turf with a rented sod cutter, regrades, amends the soil, and gives new sod the cleanest start, but it eats a full weekend and leaves you with a sore back.
- An overlay scalps the existing grass short, adds a thin layer of soil, and lays sod on top. It saves days of labor but risks poor rooting where old thatch stays thick.
- Patch repair cuts out only the dead zones and plugs in matching pieces. It costs the least but leaves visible color and texture differences if the old lawn is a different grass variety.
- A hybrid tears out the worst third and overlays the rest, which works when damage is concentrated near a driveway or play area.
Overlay is the tempting shortcut. It fails most often on compacted clay, where new roots hit a hard layer two inches down and spread sideways instead of digging in. If your drainage test went badly, skip the overlay entirely.
Soil prep and laying technique
Whichever method you pick, the soil underneath decides whether the sod knits in or peels up like carpet. According to a 2025 Mississippi State University Extension publication, sod is the fastest way to establish turfgrass, and heavy clay should be loosened by working in 25 to 50 percent compost by volume before laying it.
|
Prep factor |
Guideline |
What it means for your yard |
|
Fastest establishment method |
Sod beats seed for establishing turfgrass |
A usable lawn in weeks instead of a full season |
|
Compost share for heavy clay |
25 to 50 percent compost by volume |
Loosens dense soil so roots and water can move |
|
Compost depth for a 4-inch root zone |
1 to 2 inches worked into the top 3 inches |
A realistic target with a rototiller and a few yards of compost |
|
Depth where amendments matter |
Top 6 to 10 inches of soil |
No need to dig deeper than turf roots actually grow |
That last row saves money. You do not need to excavate a foot of dirt. Rototill compost into the top few inches, rake the surface smooth, and roll it lightly so footprints sink no more than a quarter inch.
Start laying along the longest straight edge, like a driveway or sidewalk. Stagger the seams the way bricks are staggered in a wall. Butt each piece tight against its neighbor without stretching it, and cut around curves with a sharp utility knife. Kneel on a plywood board, not on fresh sod, so you don’t leave dents. And lay every piece the day it arrives: sod left rolled on a pallet in summer heat can cook within hours.
Watering, rooting, and when to call a pro
Water the first section as soon as it’s down, before the rest of the yard is finished. For the first two weeks, keep the top inch of soil under the sod consistently damp, which usually means short sessions once or twice a day depending on heat. Lift a corner now and then. The soil beneath should feel moist, not soggy.
Around day ten to fourteen, try the tug test. Grab a handful of grass and pull gently. If the sod resists, roots have reached the soil, and you can stretch the watering out to deeper, less frequent soaks. Hold off on the first mow until it passes, then set the mower high.
Seams that shrink and turn tan mean the edges dried out; hit them with the hose. Squishy spots that stay wet for days point back to drainage.
Some yards outgrow a weekend project. Regarding moving water away from the house, a steep slope where sod would slide, or an irrigation system that needs new heads are all jobs worth handing off. For everything else, order your sod for a Friday delivery, have the compost spread and tilled by Thursday, and make sure the hose reaches every corner before the first roll comes off the pallet.